






From the sheer limestone bluffs of Mexico to the wind-swept, mineral-packed plains of the Sonoran Desert, wild cacti never experience an environment where their roots linger in saturated substrate for hours on end. In their natural habitat, fragile feeder root tips absorb moisture that percolates rapidly through volcanic tuffs, crushed granite, and coarse, porous mineral grains within minutes—before immediately coming into contact with vital atmospheric oxygen. Yet, when we cultivate these desert marvels indoors, confining them to standard store-bought potting soils crammed with dense peat moss, we unwittingly subject them to a suffocating moisture trap. Crafting your own homemade cactus potting mix is the purest, most respectful way to honor millions of years of specialized evolutionary adaptation.
Cactus root systems are biologically hardwired to activate their microscopic, water-absorbing root hairs exclusively during brief moisture fluctuations. When substrate stays waterlogged or develops localized pooling, these delicate subterranean structures quickly succumb to devastating fungal spores. In this comprehensive master guide—addressing everything from areole development to root anatomy during winter dormancy—we will walk you step by step through assembling a pristine, mineral-rich cactus mix right on your kitchen counter or balcony workbench.
1. Taxonomic Identity, Areole Structure, and Spine Morphology
The botanical family Cactaceae represents one of the planet's most remarkable achievements in xerophytic engineering. The definitive morphological hallmark that distinguishes cacti from all other succulent plant lineages is the presence of the areole—a condensed, highly specialized lateral bud center. Areoles serve as the plant's command centers, generating spines, seasonal blossoms, fruit, and secondary branching stems. The spines themselves represent modified foliage that evolved over millions of years to minimize transpiration; by shrinking the exposed surface area, breaking turbulent wind friction, and creating an insulating microclimatic boundary layer, they cool the stem while collecting morning fog condensation that trickles down to the root flare via natural hydrophilic channels.
Below the soil line, a cactus's anatomical architecture reflects this exact morphological adaptation. Rather than sinking deep taproots, desert cacti branch outward with extensive, shallow fibrous root systems designed to capture ephemeral surface rain. These roots expand rapidly through substrates dense in minerals yet exceedingly poor in organic matter. If your potting mix relies on fine-particulate organic peat instead of gritty mineral aggregates, the vascular bundles underlying the areoles cannot absorb adequate silicates and calcium; as a result, spines turn frail, the protective epidermal farina and cuticle thin out, and the specimen becomes an easy target for opportunistic pathogens.
2. Light Intensity, Solar Exposure, and Vital Aeration Standards
The physical and chemical performance of your homemade cactus substrate is intrinsically tied to environmental lighting and ambient airflow. Cacti utilize Crassulacean Acid Metabolism (CAM) photosynthesis: to prevent catastrophic desiccation, they lock their stomata tightly shut beneath scorching daytime sun and open them exclusively during cool nighttime hours to absorb carbon dioxide. For this nocturnal gas exchange to proceed without metabolic stress, the root zone must remain porous, airy, and uncompacted.
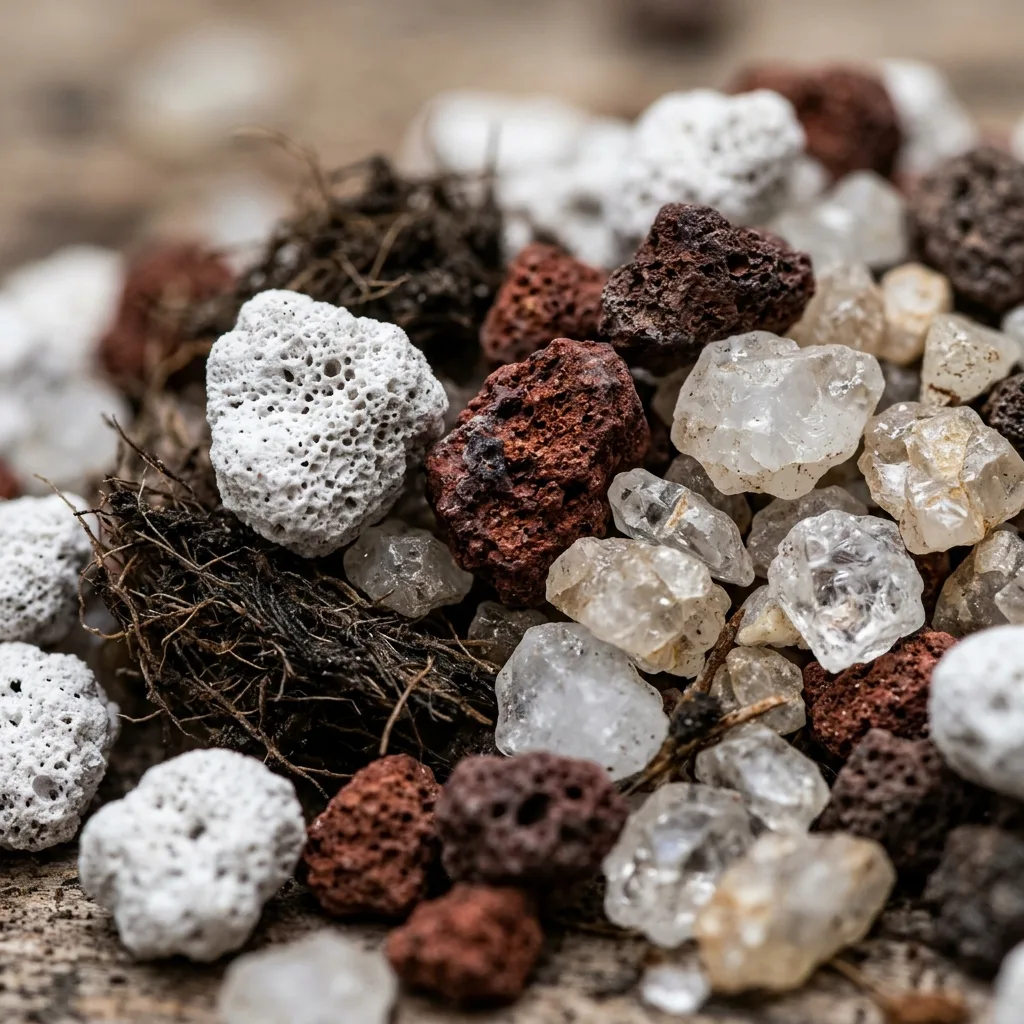
Cacti exposed to 5 to 6 hours of unfiltered, direct sunlight per day metabolize moisture quickly via CAM-driven osmotic pressure. Conversely, in low-light indoor locations or stagnant rooms, wet potting soil remains damp for dangerously long stretches. Incorporating coarse aggregates—such as pumice, perlite, and crushed volcanic scoria—fosters structural pore volume, sustaining internal air channels that offset the risks of stagnant indoor environments and preventing root asphyxiation.
3. Hydration Cycles and the Critical Winter Dormancy Regime
The single most pervasive pitfall in cactus care is hydrating on an arbitrary calendar schedule. Cactus watering must never follow an inflexible routine; it should always be a dynamic response to the drying velocity of the root ball. Adhere strictly to the 'soak and dry' method: thanks to your custom porous substrate, applied water should flush straight through the pot's drainage holes within mere seconds, leaving behind only a delicate, microscopic film of moisture clinging to aggregate surfaces.
In the Northern Hemisphere, the window spanning November through late March marks an imperative winter dormancy phase for nearly all desert cacti. When ambient temperatures retreat to 8–12°C (46–54°F), cellular growth stalls and transpiration drops to near-zero levels. Administering even a splash of water during this rest stage risks triggering lethal cold wet rot. A high-mineral potting mix formulated with 80% or greater aggregate content does not wick ambient atmospheric humidity, ensuring root structures stay safely bone-dry throughout their winter rest.
4. Formulating High-Mineral Cactus Soil and Pot Selection
Off-the-shelf commercial 'cactus and succulent mixes' frequently rely on cheap, decomposed black peat and shredded forest residues to reduce manufacturing costs. Once dry, these organic components become notoriously hydrophobic, repelling water like hardened brick; once rewetted, they hold moisture for weeks. An authentic, botanically sound cactus mix requires 70% to 80% inorganic, porous minerals paired with no more than 20% to 30% organic matter.
The recipe below provides the optimal volumetric proportions for vigorous, rot-free cactus cultivation:
| Component | Volumetric Ratio (%) | Grain Size | Horticultural & Biological Function |
|---|---|---|---|
| Sifted Horticultural Pumice | 40% | 3 – 6 mm | Maintains macro-pore volume, channels oxygen directly to roots, and resists compaction indefinitely. |
| Crushed Lava Rock (Scoria) | 20% | 2 – 5 mm | Slowly releases trace minerals like iron and magnesium; adds ballast to anchor heavy stems. |
| Coarse River Grit / Zeolite | 15% | 2 – 4 mm | Maximizes instant drainage; zeolite actively buffers nutrients and binds harmful salts. |
| Washed Coco Coir or Aged Pine Bark | 15% | Fine-Medium Fiber | Offers an initial anchor for fine root hairs and facilitates uniform, gentle moisture distribution. |
| Sterile Worm Castings or Leaf Mold | 10% | Finely Sifted | Provides a modest dose of natural organic nutrients and introduces beneficial rhizosphere biology. |
Step-by-Step Preparation Protocol:
- Rinse and Screen: Place your pumice, volcanic rock, and grit onto a wire screen. Rinse them thoroughly under running water to eliminate mineral silt and rock dust, then allow them to dry completely in the sun.
- Condition the Organic Base: Lightly moisten the coco coir or screened bark; it should be damp enough to clump momentarily in your hand, yet spring loose effortlessly without releasing excess water.
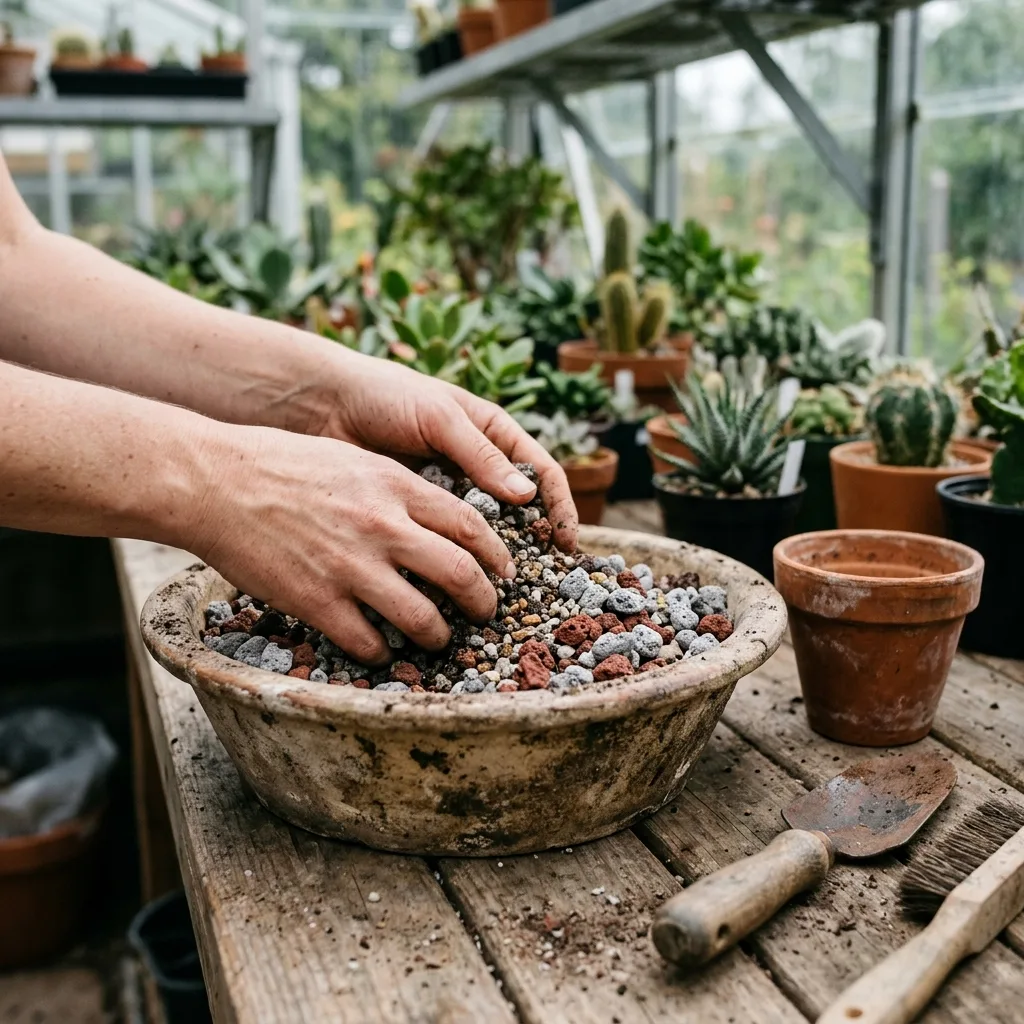
- Thorough Blending: Combine your washed aggregates and conditioned organics in a large trough or tub. Mix thoroughly for 3 to 4 minutes using a garden scoop to ensure a completely homogeneous distribution in every handful.
- Pot Selection: Always pair this mix with unglazed terra cotta pots equipped with ample drainage holes. The micro-porous walls of unglazed clay evaporate moisture outward through the container sides, cutting drying times in half compared to glazed or plastic options.
5. Inducing Desert Blooms and Strategic Nutritional Regimes
Enthusiasts often express frustration over mature cacti that steadfastly refuse to flower. Inducing blooms from mature areoles demands two clear physiological triggers: a cold, uninterrupted dry winter rest, followed by balanced mineral nutrition as springtime approaches. A custom, mineral-dominant mix guarantees the zero-moisture winter conditions needed to initiate floral bud differentiation.
Once new growth resumes in spring, avoid high-nitrogen fertilizers at all costs. Excessive nitrogen causes structural tissues to swell rapidly, leading to epidermal splitting and forcing vegetative mass at the expense of blossom development. Instead, opt for low-nitrogen, high-phosphorus, and high-potassium liquid formulas (such as NPK 5-10-10 or 4-8-12), administered at half strength once per month during the active growing season. The weathering pumice and volcanic scoria in your mix will naturally release supplementary traces of bioavailable silicates and potassium with every hydration cycle.
6. Propagation, Offset Division, and Grafting Techniques
Working with an ultra-porous potting medium makes vegetative propagation remarkably straightforward. To propagate via offsets (pups), sever the pup from the mother plant's areole using a sterilized scalpel, keeping tissue wounds as small as possible. Never place a fresh cutting into soil immediately. Set the piece in an airy, shaded spot for 4 to 7 days until the cut section develops a firm, pale, dry protective callus.
Once the wound has callused, place the cutting lightly on the surface of your mineral mix. Because the medium is loose and well-aerated, emerging adventitious roots can effortlessly penetrate the aggregate spaces without encountering resistance. If you are propagating chlorophyll-deficient mutations (such as vibrant red Gymnocalycium mihanovichii), perform a flat graft onto a hardy, disease-resistant Hylocereus rootstock before setting the potted stock into your mineral substrate.
7. Defending Against Fungal Pathogens and Basal Stem Rot
Nearly 95% of cactus mortalities originate beneath the soil line. Mechanical root damage paired with poorly draining, soggy substrates creates an open doorway for soil-borne pathogens like Phytophthora and Fusarium. If you observe yellowing or dark discoloration at the base of your cactus accompanied by a soft, spongy tactile texture, root rot has taken hold.
To salvage the plant, unpot it immediately and wash away all soggy soil residues under lukewarm running water. Using flame-sterilized shears, prune away all blackened, necrotic roots down to clean, healthy tissue. Dust the cut surfaces with sulfur powder or ground cinnamon, allow the wounds to dry in the open air for several days, and repot into fresh, bone-dry mineral mix. Refrain from administering any water for at least 10 to 14 days to let the compromised root system heal fully.


Reader Reviews & Comments 4 Reviews
Julian Vance
Clara Higgins
Eleanor Brooks
Marcus Sterling
Leave a Review & Rating
Share your plant care tips, experiences, or questions with our succulent community.