






One of the most frequent aesthetic dilemmas encountered by succulent collectors and plant enthusiasts is leggy, stretched growth (etiolation) caused by insufficient light. In the botanical realm, however, this morphological deformity is far from a dead end; it is the most productive starting point for harnessing the regenerative capacity of the vascular cambium to generate fresh, robust, and compact rosettes. Stem cutting propagation is an exceptionally reliable vegetative technique that shaves weeks off the timeline compared to leaf propagation, boasting the highest success rate in succulent culture.
Adapted to arid climatic conditions, members of the Crassulaceae, Apocynaceae, and Asphodelaceae families possess specialized water-storing parenchyma tissues along with meristematic cell groups capable of rapidly activating root primordia. The objective of stem propagation is to trigger the plant\'s innate survival mechanisms, inducing the emergence of vigorous adventitious roots—secondary root structures originating from stem tissue—at the excision site.
1. Botanical Identity and the Role of Stem Morphology in Propagation
The success of the stem cutting technique relies directly on understanding the anatomical structure of the plant. Succulent stems are structured as sequential arrangements of leaf nodes (nodum) and internodes (internodium). Nodes represent regions of maximal meristematic potential; they are the primary biological centers from which new leaf and root tissues differentiate. When a stem cutting is taken, the severed vascular bundles at the cut surface are exposed to atmospheric oxygen, which promptly stimulates localized cellular division.
Furthermore, succulent foliage and stems are naturally coated with \'farina\' (an epicuticular wax layer). This powdery, chalky protective coating shields delicate tissues from severe dehydration during propagation and acts as a barrier against phytopathogenic fungi. Consequently, preserving this farina layer and handling cuttings with extreme care—avoiding wiping it away with your fingertips—is a vital preventative measure.
2. Light Requirements and Indoor Positioning
The photosynthetic capacity and water balance of an unrooted stem cutting are exceptionally delicate. Lacking a functional root system, the cutting can rapidly lose its internal moisture reserves through excessive transpiration. You must never place a newly severed cutting under direct, unfiltered midday sun (50,000 lux or higher); such intense radiant energy will scorch the cutting, leading to irreversible desiccation or severe sunburn-induced necrosis.
The optimal microclimate is a bright, well-ventilated space receiving 10,000 to 15,000 lux of indirect, filtered light, such as behind sheer curtains. East-facing window sills, where the cutting receives gentle morning photons without harsh thermal stress, are ideal. If unrooted cuttings are tucked away in overly dim corners, they will continue to etiolate and stretch toward the nearest light source rather than investing their stored metabolic energy into adventitious root production, thereby compromising the compact geometry of the new specimen.
3. Watering Discipline and Rooting Phases
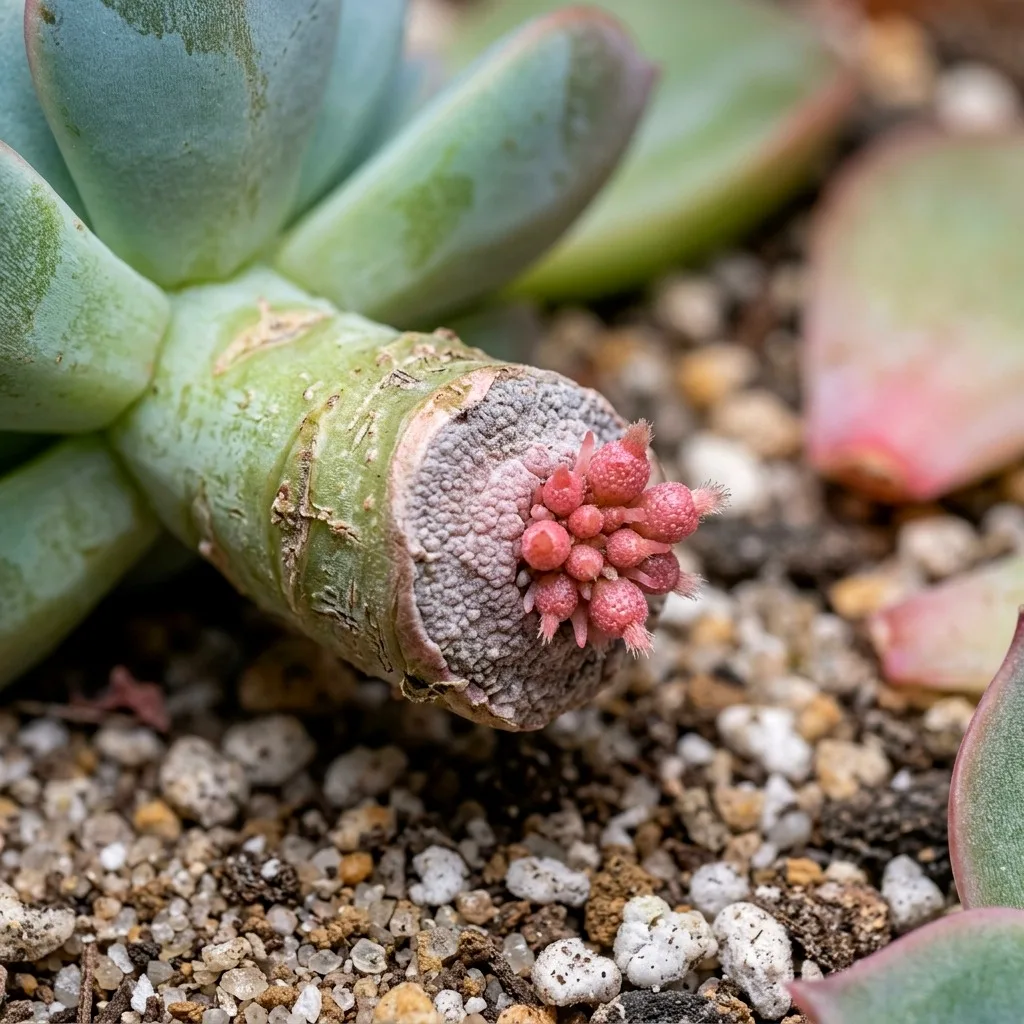
The most devastating horticultural error novice growers commit when taking stem cuttings is hydrating the substrate immediately upon planting. Always remember: A plant without roots cannot absorb water from the surrounding soil. A fresh, uncallused wound resting in saturated substrate will be invaded within hours by opportunistic soil-borne pathogens, particularly fungal species belonging to the genera Fusarium and Pythium.
Once you position your cutting atop or within the substrate, withhold water entirely for the first 7 to 14 days. When the first fine, translucent pink or white root tips emerge from the stem, transition gradually into a softened variant of the \'Soak and Dry\' irrigation regime. Lightly mist or dribble water onto the top 1–2 centimeters of the soil column to encourage geotropic root descent toward moisture. Only after the plant secures itself firmly into the substrate—demonstrating tactile resistance when gently nudged—should you transition to a full, deep watering schedule.
4. Ideal Substrate Formulation and Pot Selection
Rapid and robust root morphogenesis depends fundamentally on maximizing oxygen availability within the rhizosphere. Standard, peat-heavy potting mixes retain moisture for prolonged intervals, proving lethal to delicate unrooted stems. You must assemble an airy, highly porous substrate dominated by inorganic aggregates where water percolates through in a matter of seconds.
| Material | Ratio (%) | Botanical Function |
|---|---|---|
| Pumice (2–4 mm) | 40% | Provides superior rhizosphere aeration and long-term porosity. |
| Lava Rock (Scoria) | 20% | Contributes trace minerals and keeps internal drainage channels open. |
| Perlite or Zeolite | 15% | Imparts lightness to the matrix and prevents substrate compaction. |
| Sterile Cactus/Succulent Peat | 25% | Provides a minimal organic baseline for establishing emerging root hairs. |
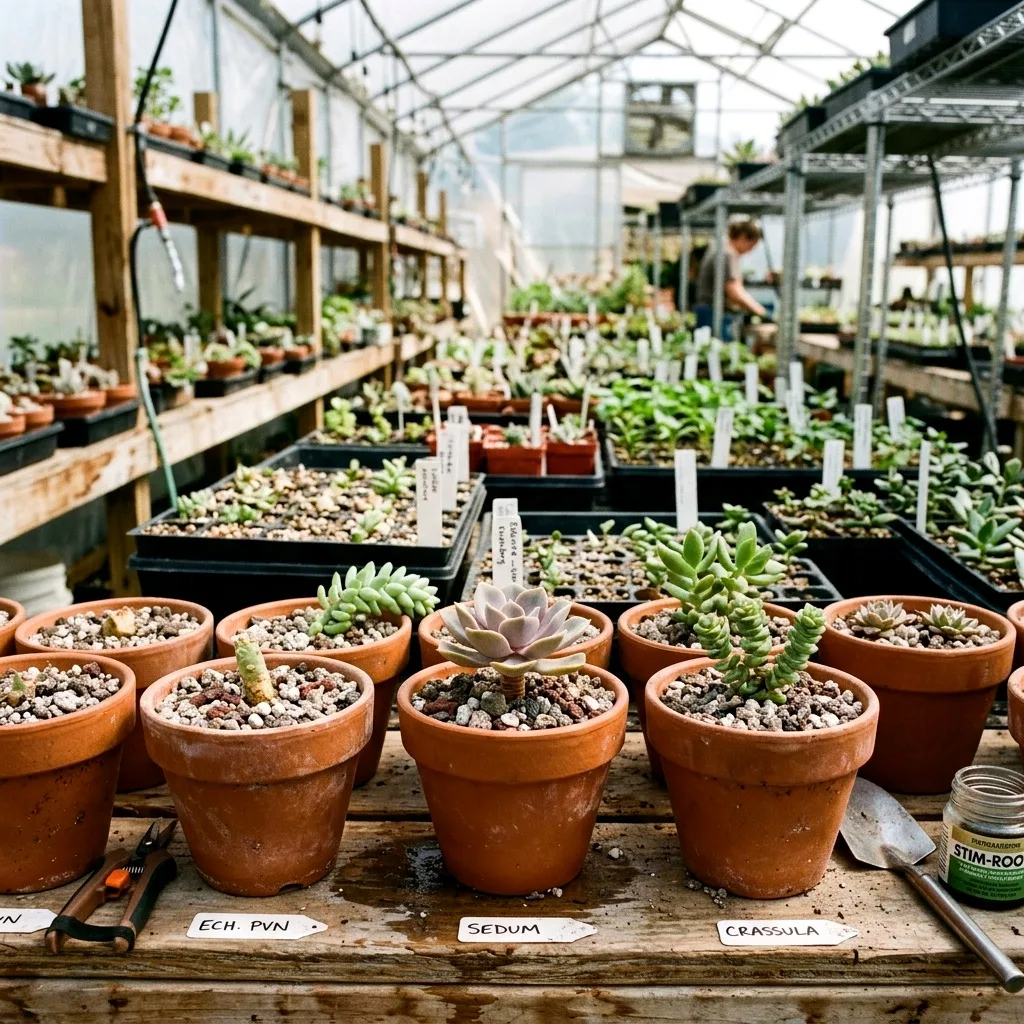
When selecting containers, prioritize unglazed terracotta pots fitted with functional drainage apertures. The porous clay walls of terracotta facilitate bilateral gas exchange and allow excess moisture to evaporate laterally through the vessel walls, dramatically mitigating the onset of stagnant fungal infections.
5. Step-by-Step Technique for Propagating Stem Cuttings
Executing your cuts with clinical cleanliness significantly elevates your propagation success rate. Follow this professional step-by-step propagation protocol:
- Equipment Sterilization: Decontaminate your razor, scalpel, or bypass pruning shears with 70% isopropyl alcohol. Pathogen-tainted tools introduce bacterial and fungal spores directly into vulnerable vascular tissue.
- Determining the Severance Point: Identify a healthy section of stem approximately 3 to 5 cm beneath the compact rosette. Execute a clean, single-stroke cut at a 45-degree angle. The bevel prevents moisture droplets from pooling on the wound surface.
- Stripping Lower Leaves: Gently detach the leaves along the bottom 2 to 3 cm of the severed stem by twisting them carefully from side to side. The exposed nodes serve as the primary epicenters from which adventitious roots erupt. (Do not discard these leaves; set them aside for simultaneous leaf propagation).
- Callusing Phase: Lay the cutting horizontally on a clean paper towel or dry tray in a warm, dry room protected from direct sunlight for 3 to 5 days. Inspect the severed end until a matte, dry, off-white protective callus forms over the vascular ring.
- Planting and Root Establishment: Seat the callused stem 2 to 3 cm deep into the bone-dry substrate mix described above, or secure it so the base sits flush against the top layer. Keep the pot in bright, indirect light and wait for adventitious root emergence before introducing moisture.
6. Managing Common Pests and Pathological Issues
During the rooting phase, nascent tissues operate with developing immune defenses, leaving them susceptible to opportunistic infestations. The most prevalent pests encountered during this window are mealybugs (Pseudococcidae). If you detect cottony white residue sequestered between leaf axils, eradicate them mechanically using a cotton swab saturated in 70% isopropyl alcohol, or apply targeted cold-pressed neem oil formulations during evening hours.
Conversely, overly humid environments devoid of air movement trigger stem rot, characterized by blackened, softening vascular tissue at the cutting\'s base. Should the base turn soft and dark, sever the stem upward with a sterile blade into completely pristine, translucent green tissue. Dust the newly cut surface with sulfur powder or ground cinnamon (a natural antifungal agent), and restart the callusing process from the beginning.
7. Seasonal Growth Calendars and Biological Rhythms
Succulents adhere to distinct biological growth curves, and propagation yields are highest when aligned with periods of active vegetative metabolism. The vast majority of Crassulaceae family members (such as Echeveria, Sedum, and Graptopetalum) enter peak growth during spring and early summer; hence, the window between March and June offers optimal metabolic velocity for rooting stem cuttings.
By contrast, during late autumn and winter, plummeting temperatures (consistently below 10–15°C / 50–59°F) prompt many species to slip into semi-dormancy. Taking stem cuttings during winter extends the rooting timeframe two- to threefold and significantly elevates rot rates. If winter propagation is unavoidable, employ horticultural heat mats set to 20–22°C (68–72°F) paired with full-spectrum LED grow lights to artificially sustain physiological activity.


Reader Reviews & Comments 5 Reviews
Deneme Kullanıcısı
Sarah Jenkins
Michael Brown
David Miller
Emily Clark
Leave a Review & Rating
Share your plant care tips, experiences, or questions with our succulent community.